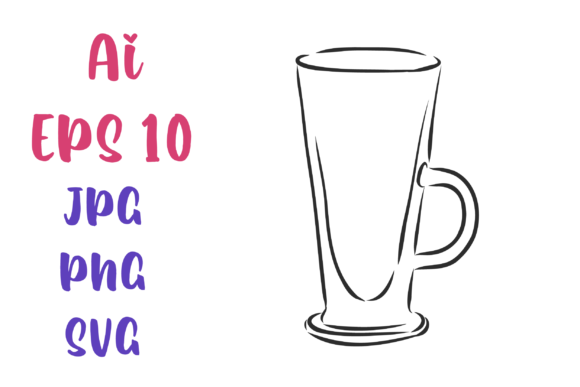
Coffee Cup, Vector Sketch
A Designer’s First Glance: Clean, Warm, and Ready for Thread
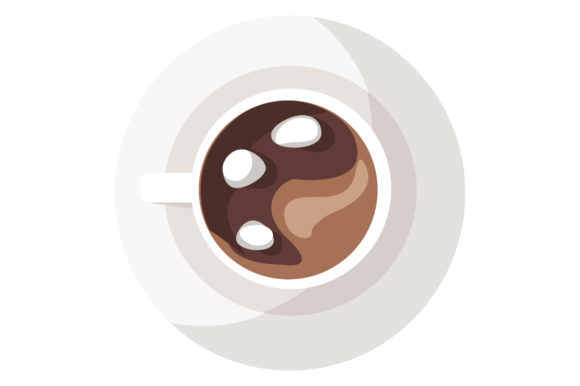
When I opened Coffee Cup, Vector Sketch, my first thought wasn’t “cute” or “trendy”—it was “this will stitch cleanly.” The linework is confident but not fussy: a relaxed contour with gentle tapering at the handle, subtle weight variation in the cup’s rim, and just enough internal suggestion—like a soft steam curl or minimal shading—to imply warmth without demanding dense fill stitches. It doesn’t scream “coffee shop logo” or lean into cartoonish exaggeration. Instead, it feels like something you’d sketch in a notebook before brewing your first cup—honest, unhurried, quietly expressive. That mood translates beautifully to handmade products: think embroidered kitchen towels for a local café, baby onesies for new parents who love slow mornings, or minimalist tote bags sold at craft fairs.
Where It Shines in Real Embroidery Projects
I tested Coffee Cup, Vector Sketch on three real-world items: a medium-weight cotton tote bag, a 100% combed ring-spun sweatshirt, and a linen tea towel. On all three, it held its character. The clean vector outline translated directly into crisp satin-stitched edges—no pixelation, no jagged corners—even at 3.5" wide. Because the design avoids tight curls, tiny dots, or overlapping layers, it didn’t bog down my machine with excessive jump stitches or require aggressive underlay. That means fewer thread breaks, smoother hooping, and faster turnaround—critical when you’re fulfilling Etsy orders or prepping for a holiday market.
It works especially well as a single-element embroidery file on apparel where subtlety matters: a small chest placement on a unisex crewneck, a centered motif on a pillow cover, or a delicate corner accent on a baby blanket. I also used it as a standalone embroidered patch base—stitched it onto twill, cut close, and heat-sealed the back. The clean silhouette made trimming fast and precise. For small business owners, that’s time saved and consistency gained across batches.
Where to Pause—and Why
That same simplicity becomes a quiet limitation on certain fabrics and placements. On stretchy fabric like lightweight knits or curved surfaces like caps, the open negative space around the cup’s handle can distort if stabilizer isn’t chosen carefully—so I recommend tear-away + light cutaway combo for anything with give. On dark fabric, avoid relying solely on the included PNG or JPG mockups; test actual thread colors (I found medium tan and charcoal gray gave the warmest contrast without looking muddy). And while the design scales well up to 4.5", don’t push it smaller than 2"—the handle detail starts to vanish in fill stitch, and the steam line risks disappearing entirely in running stitch.
Also note: because this is an illustration, not a built-out machine embroidery design, there’s no pre-optimized stitch path, no automatic underlay, and no built-in color stops. You’ll need to digitize it—or work with a digitizer—if you want layered satin fills, textured steam effects, or custom thread sequencing. That’s not a flaw—it’s just context. It’s a vector sketch, not a plug-and-play embroidery file. Know the difference before you load it into your software.
What It Adds to Your Finished Product
Coffee Cup, Vector Sketch elevates perceived value without shouting. Customers notice the restraint—the way the shape sits comfortably on a garment instead of fighting it. On personalized gifts, it reads as intentional, not generic. On boutique merchandise, it supports brand consistency without locking you into one aesthetic (swap thread colors from sage to rust to navy, and it fits entirely different collections). And because it’s delivered in EPS10, SVG, and AI formats, you can adjust spacing, add monogram initials, or scale it precisely for left-chest vs. sleeve placement—all without quality loss. That flexibility matters when you’re iterating for client approval or building a cohesive digital product suite.
Practical Notes Every Embroidery Designer Should Keep Handy
- Always test on scrap fabric first—especially with textured weaves or blends. Linen and terry cloth behave differently than smooth cotton poplin.
- Review stitch density in your digitizing software. A loose sketch like this can easily become too sparse on thick fabric or overly dense on thin baby knit—adjust fill angles and underlay accordingly.
- Confirm hoop size early. Even though the design is simple, its proportions mean it fits best in a 4"x4" or larger hoop—don’t force it into a 3"x3" unless you’re willing to scale down and accept some simplification.
- Inspect small details at actual stitch size. Zoom in on the steam line and handle junction in your embroidery software preview—those are the spots most likely to need manual cleanup.
- Test black-and-white mockups before finalizing thread choices. What looks balanced on screen may read flat or muddy when stitched.
- Check licensing terms before selling finished items or digital products. While the file includes editable AI source and vector formats, commercial use rights aren’t implied—verify before listing on Etsy or bundling into a craft bundle.
Final Thought: A Quiet Workhorse, Not a Flashy Gimmick
Coffee Cup, Vector Sketch won’t go viral on Instagram—but it will sell steadily at craft fairs, earn repeat orders from boutique clients, and hold up beautifully after 20 washes on a favorite apron. It’s the kind of design asset that makes your workflow smoother, not more complicated. It respects the craft: no over-engineered flourishes, no hidden traps for beginner digitizers, no assumptions about your machine or fabric. Just a warm, well-proportioned idea—ready for thread, ready for hands, ready for real life. If you’re curating graphics for your craft business, building a library of reliable embroidery project starters, or sourcing clean motifs for personalized gifts, this one earns its place—not as a novelty, but as a trusted tool.